
How to Deploy a Serverless GraphQL API on Netlify [Starters]
You know, I'm very proud to be a developer in 2020. The access we have to tools and services is impressive. The barrier to entry towards crafting side-projects, startups, businesses, etc.- it's almost non-existent.
With tools like Netlify, we can deploy a serverless Apollo GraphQL server for free in seconds. Un. Real.
While I like being able to do things quickly, I'm also one who believes that "if we do it, we know it". So I'm going to give you a few useful resources on how to deploy serverless GraphQL APIs and then walk you through the process so that you can better appreciate what's going on.
Huge shoutout to the great Trevor Blades who cut 80% of the time it would have taken me to figure this stuff out on my own. Most of this is based off of his Countries GraphQL API.
Prerequisites
- You should have Node and npm installed
- You should understand the concept of serverless functions
- You have a code editor installed (preferably VS Code, it's the champ, don't @ me)
Goals
By the start of this article (like- right now), you should be aware of two resources to deploy GraphQL APIs on Netlify. Check them out below.
- Serverless GraphQL on Netlify API Starter Project
- Serverless GraphQL on Netlify API using TypeScript Starter Project
If you just need to get something up and running, you can go to either of those projects, click "Deploy to Netlify", and you're good to go. You can even stop reading right here.
The second goal for the rest of this article is to explain how these starters work, what they can do, and how you can use them for your next serverless project.
We will go through the process of creating a GraphQL API using Netlify from scratch with vanilla JavaScript (though the process is similar with TypeScript).
Initial setup
First we need to create a folder.
mkdir serverless-starter
cd serverless-starter
Setup Node.js package.json
Next, we'll create a package.json and say "yes" to everything.
npm init -yInstall dependencies
We don't need a whole lot to get things going. In your console, paste the following command to install the dependencies.
npm install --save apollo-server apollo-server-lambda
npm install --save-dev cpx nodemonapollo-server: When we're developing locally, we're going to want to run our code against a local GraphQL endpoint. Let's install this so that we can craft an excellent local development experience.apollo-server-lambda: This is a version of Apollo Server optimized to work on serverless lambda functions. It's what we use to deploy to production.cpx: In Netlify, we need to bundle all of our source code in thefunctions/folder, so we need a way to copy the code from oursrc/folder in a cross-platform-friendly way to thefunctions/folder.nodemon: We all like cold-reloading. Install this so that we can get live updates when we change any files.
Creating our server implementations
Let's create our server implementations at src/server.js.
touch src/server.jsIn server.js, we're going to import both the ApolloServer from apollo-server and apollo-server-lambda, but we're going to call the one imported from the lambda project, ApolloServerLambda instead.
const ApolloServer = require('apollo-server').ApolloServer
const ApolloServerLambda = require('apollo-server-lambda').ApolloServer
const { gql } = require('apollo-server-lambda');
Now let's add a simple type definition and resolvers object.
const typeDefs = gql`
type Query {
hello: String
}
`;
const resolvers = {
Query: {
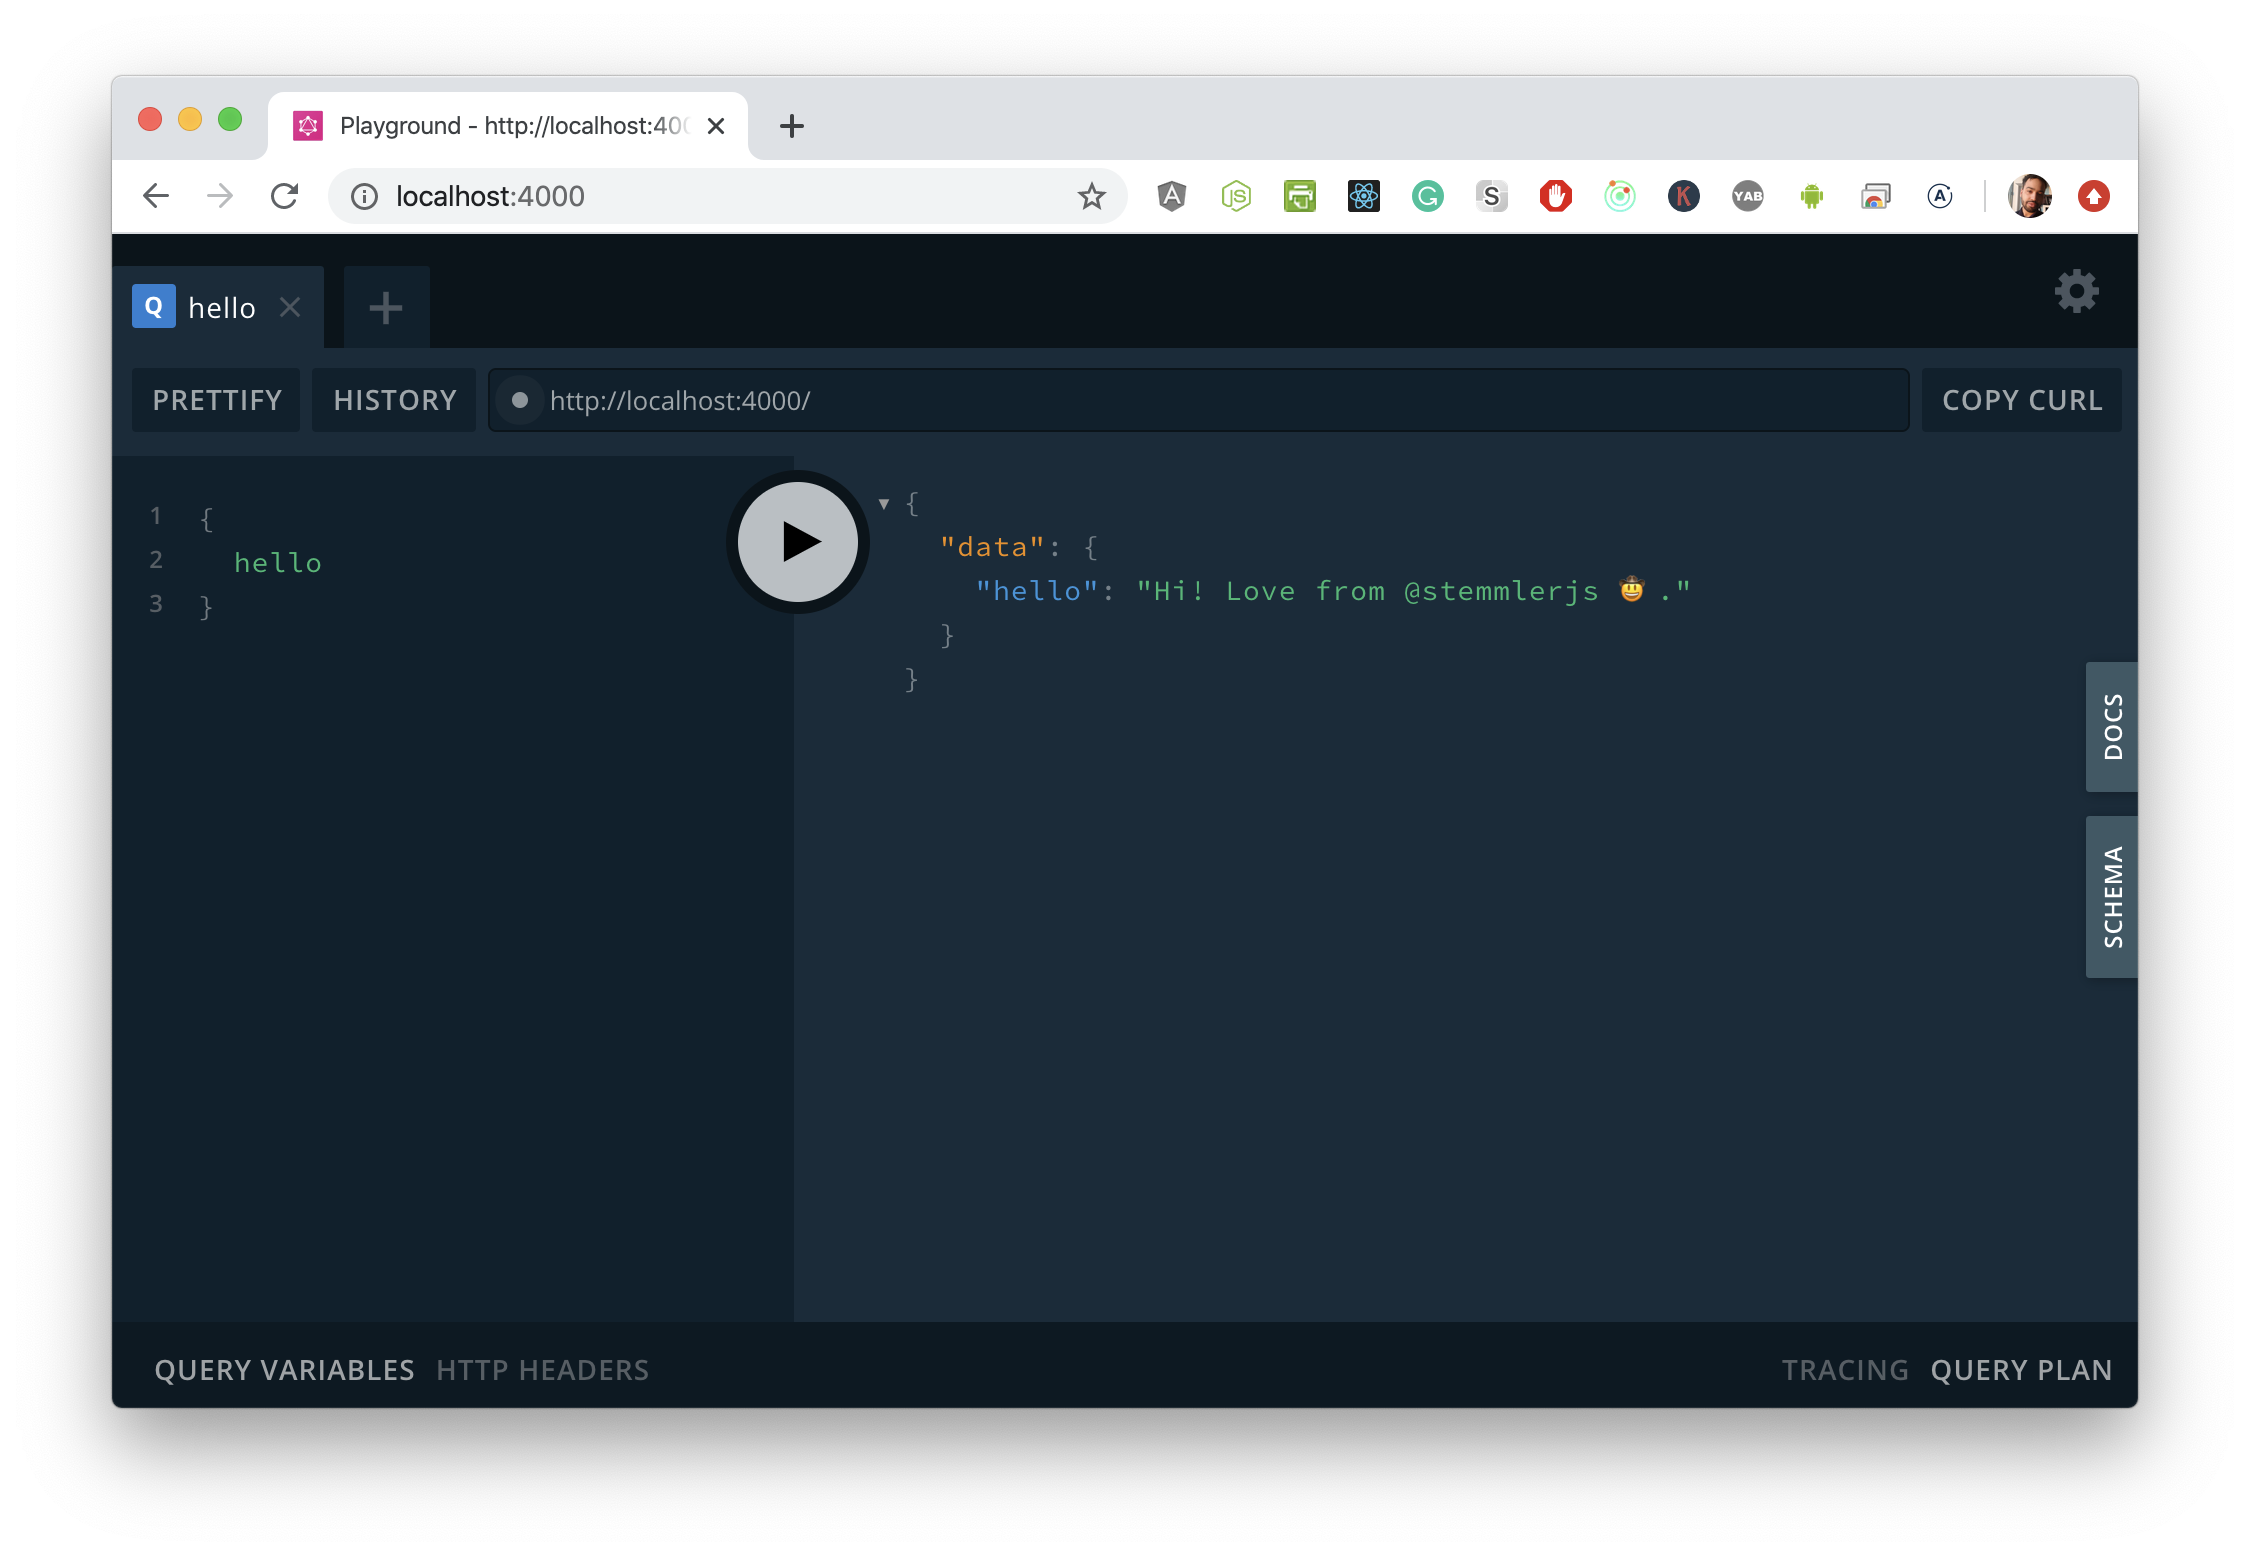
hello: () => "Hi! Love from @khalilstemmler 🤠."
}
};The last thing in this file- let's create two factory functions: one for the lambda server, and one for the regular server. We'll also export these from the module as an object.
function createLambdaServer () {
  return new ApolloServerLambda({
    typeDefs,
    resolvers,
    introspection: true,
    playground: true,
  });
}

function createLocalServer () {
  return new ApolloServer({
    typeDefs,
    resolvers,
    introspection: true,
    playground: true,
  });
}

module.exports = { createLambdaServer, createLocalServer }
Sweet, now let's get our local server going.
Configuring our local server
Create src/index.js, the entry point to our local development efforts.
touch src/index.jsThen import createLocalServer from ./server, create a server instance, and fire it up.
const { createLocalServer } = require("./server")

const server = createLocalServer();

server.listen().then(({ url }) => {
  console.log(`🚀 Server ready at ${url}`);
});
Nice! That's how we get a local GraphQL server up and running.
Starting up the local server with Nodemon
Because we like cold-reloading, let's create a nodemon.json file in the root of the project and add configure it to listen to changes to anything in src/ or functions/ (this is where we will configure our GraphQL server).
{
  "watch": ["src", "functions"],
  "ext": ".js",
  "ignore": [],
  "exec": "node ./src/index.js"
}
In the package.json, we can add a start script that simply executes nodemon like so.
{
  "scripts": {
    "start": "nodemon"
  }
}
To start the project, run this command.
npm run startThen go to http://localhost:4000/ and check out the local server.
Configuring our lambda server
Now that we've got the local server running, it's time to hook up the one that will run on Netlify.
Create the functions directory
At the root of the project, create a directory called functions/- this is where we'll tell Netlify to look for our functions.
touch functionsCreate the serverless graphql endpoint
In functions, create a file called graphql.js.
touch functions/graphql.jsWhatever we put in the functions folder, Netlify will make it publicly visible as if it were in a directory.
When we deploy this, we will be able to reach this file directly by going to https://OUR_SITE_NAME/.netlify/functions/graphql.
Let's get access to our createLambdaServer factory function, call it, and then expose a handler using server.createHandler, passing in the most permissive CORS configuration.
const { createLambdaServer } = require('../src/server')

const server = createLambdaServer();

exports.handler = server.createHandler({
  cors: {
    origin: '*'
  }
});
This looks good, but there's a problem here. Netlify can't reach outside of the functions folder and into src.
If we were to deploy this, Netlify would yell at us and tell us that it can't find createLambdaServer.
The solution is to bundle the code in src and copy it over to the functions folder.
Bundling our source code
In our package.json, let's add the bundle script.
{
  "scripts": {
    "bundle": "cpx src/**/* functions/bundle"
  },
}
This command takes everything in src and copies it to functions/bundle.
Let's give it a run.
npm run bundleYou should see a new folder appear in the functions folder with the source code from src.
Go into functions/graphql.js and update the reference to the createLambdaServer function.
const { createLambdaServer } = require('./bundle/server')
const server = createLambdaServer();

exports.handler = server.createHandler({
  cors: {
    origin: '*'
  }
});
We're pretty much all set to go! The last thing to do is configure Netlify.
Netlify configuration
Here's the stuff that's magic to me.
Empty index.html
I'm not entirely sure if this is necessary (someone correct me), but an empty index.html file should live at the root of the project.
touch index.htmlRedirects file
By default, our endpoint lives at https://OUR_SITE_NAME/.netlify/functions/graphql. We don't want to have to refer to it like that; we'd prefer to just see to the site like https://OUR_SITE_NAME/.
To remedy this, create a _redirects file at the root of the project.
touch _redirectsThen add the following config.
/ /.netlify/functions/graphql 200!The exclamation mark signals that we will rewrite everything at the root URL to /.netlify/functions/graphql. Read more about Shadowing from the docs.
Netlify.toml file
The last thing we need to do is tell Netlify what the build command is and where our functions live.
We can do set this up with a netlify.toml file.
Let's create one at the root of the project.
touch netlify.tomlAnd since we need to bundle our code before we deploy, let's use npm run bundle as the build command.
[build]
  command = "npm run bundle"
  functions = "functions"
That's it!
Deploying to Netlify
Two effortless ways to deploy this are:
- Click the "Deploy to Netlify" button in either starter. It will clone the repos to your GitHub account and deploy them.
- Manually clone the repos, log in to Netlify, and then select a repository to deploy.
Not sure where you are on the path? Take the Phases of Craftship quiz — 7 questions, personalized results.
Stay in touch!
Join 20000+ value-creating Software Essentialists getting actionable advice on how to master what matters each week. 🖖
View more in GraphQL